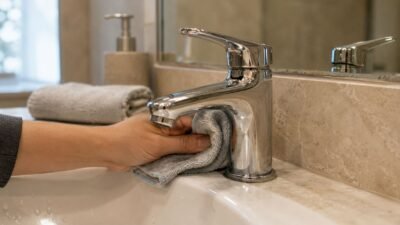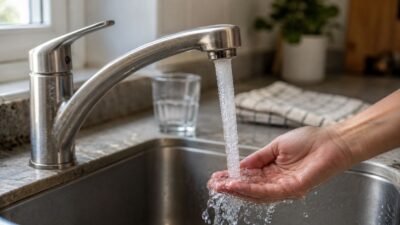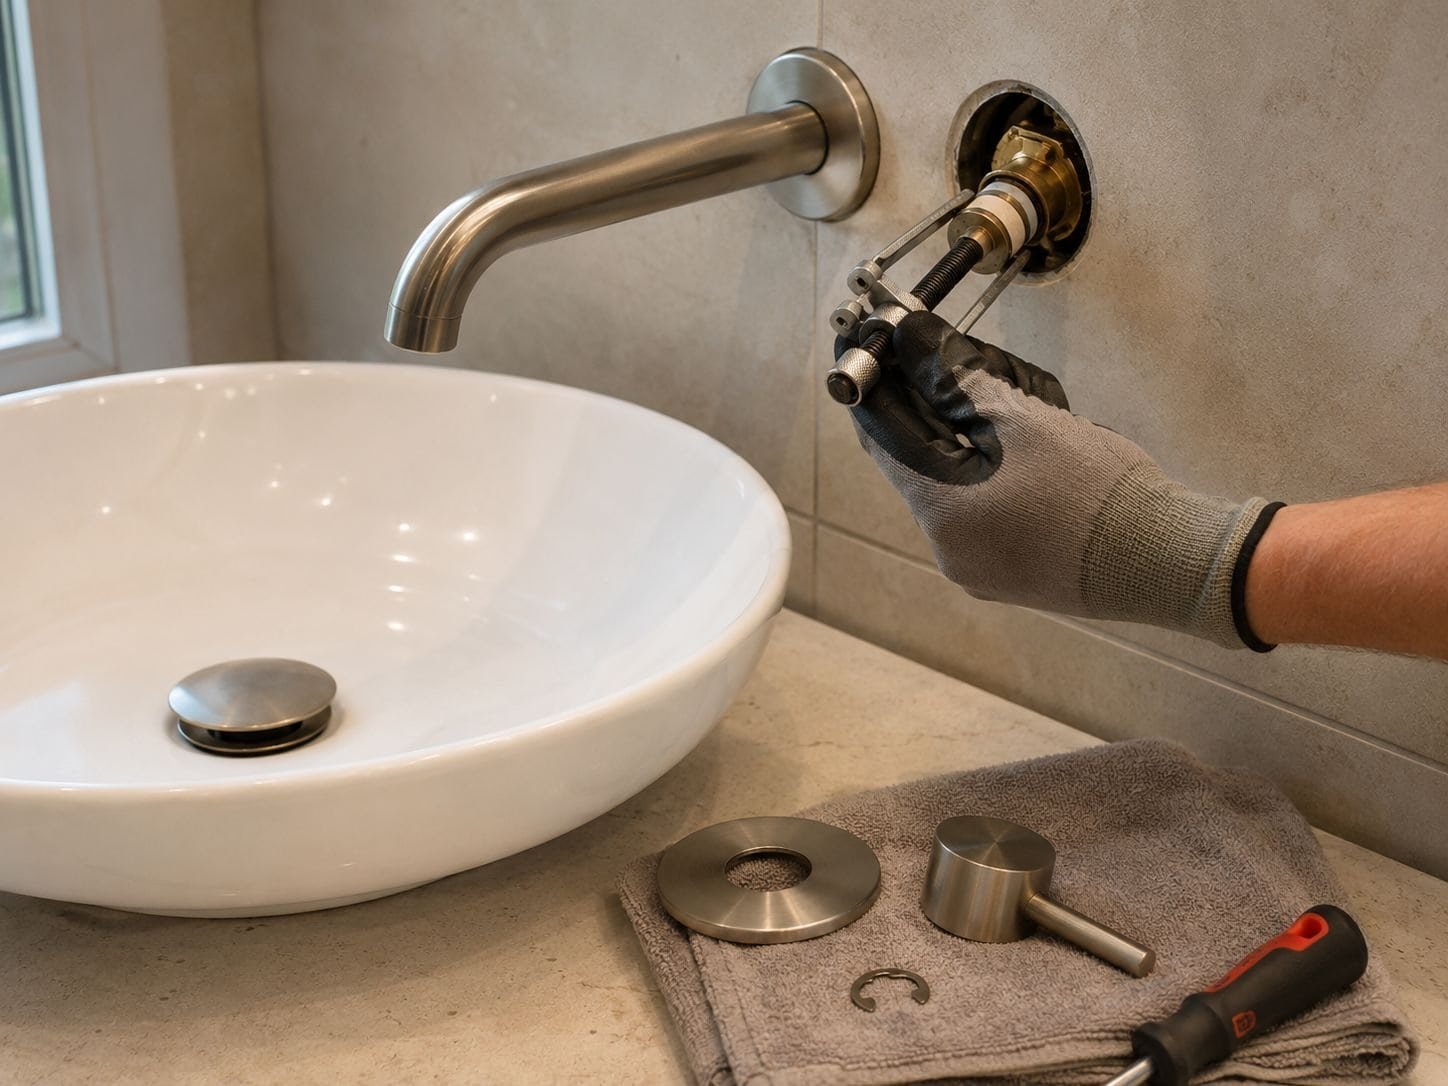
Removing a cartridge from a wall-mounted faucet is usually done from the front of the finished wall; the valve body remains inside the wall. The main risks are damaging the trim or tile, losing small retaining parts, and allowing residual water to enter the wall opening. Before starting, identify the faucet model and confirm that the cartridge is serviceable through the existing trim opening.
This guide focuses primarily on wall-mounted bathroom sink faucets. Concealed shower valves may use pressure-balancing or thermostatic cartridges, different retainers, and separate anti-scald adjustments, so they should be serviced according to the shower valve manufacturer’s instructions.
Do not begin by pulling on the cartridge stem. First identify the valve system, locate the manufacturer’s service instructions, and confirm whether the cartridge is held by a retaining clip, bonnet nut, threaded collar, or model-specific adapter. The correct parts diagram is more reliable than a generic removal video because the disassembly sequence varies by model.
At A-TORNEIRA, we recommend keeping the faucet model number and parts diagram with the installation record so future cartridge service is easier.
Identify the Brand and Confirm It’s the Cartridge
Checking Handle, Trim Plate, and Escutcheon for Brand Markings
Look for the manufacturer name or model number on the handle cap, escutcheon, trim plate, spout, or installation paperwork. If the trim has already been removed, photograph any casting marks or labels on the valve body. Use those details to locate the exact parts diagram before ordering a replacement cartridge.
Do not rely on appearance alone. Two cartridges may look similar while using different stem lengths, splines, retainers, or sealing layouts. Confirm the model and replacement part number whenever possible.
Water Dripping, Stiff Handle, or Reduced Flow: Is It the Cartridge?
A worn cartridge may cause dripping from the spout, stiff or uneven handle movement, reduced flow, or poor hot-and-cold control. However, leakage around the handle may come from a damaged O-ring, packing seal, or loose retaining component rather than the cartridge itself. Diagnose the source of the problem before ordering replacement parts.
EPA WaterSense states that a faucet dripping at a rate of one drip per second can waste more than 3,000 gallons of water per year. A visible drip from the spout is different from a concealed leak inside the wall. Water staining, damp drywall, or moisture behind the escutcheon should be treated as a possible in-wall leak and investigated promptly.
Common Wall-Mounted Faucet Problems and Possible Causes
| Symptom | Possível causa | Is Cartridge Replacement Likely? |
|---|---|---|
| Water drips from the spout after shutoff | Worn cartridge seals, damaged washer, or valve seat wear | Often |
| Handle feels stiff or uneven | Mineral buildup, dry O-rings, or a worn cartridge | Possible |
| Vazamentos de água ao redor da alça | Damaged O-ring, packing seal, loose bonnet, or cracked cartridge | Possible |
| Hot and cold water are reversed | Cartridge installed in the wrong orientation or supply lines reversed | Not always |
| Flow is weak from both hot and cold sides | Clogged aerator, debris in the valve, or restricted supply | Not necessarily |
| Moisture appears behind the escutcheon | Cartridge leak, failed trim seal, or leaking in-wall connection | Requires inspection |
These symptoms can overlap, so identify the leak source and confirm the faucet model before ordering a replacement cartridge.
Cartridge vs. Compression Faucet: Why It Matters for Wall-Mounted Fixtures
Wall-mounted fixtures may use replaceable cartridges, compression stems, or ceramic valve assemblies. A cartridge may pull out, twist out, or unthread after its retainer is removed. A compression stem usually unscrews from the valve body and may contain a washer and a replaceable valve seat. Use the model-specific parts diagram rather than assuming how the mechanism comes apart.
If you guess wrong, you waste time and risk damaging the valve body. I always tell people: identify first, disassemble second. The few minutes spent confirming the mechanism can save the whole repair.
Tools, Shutoff, and Access Prep
Essential Tools You’ll Need Before Starting
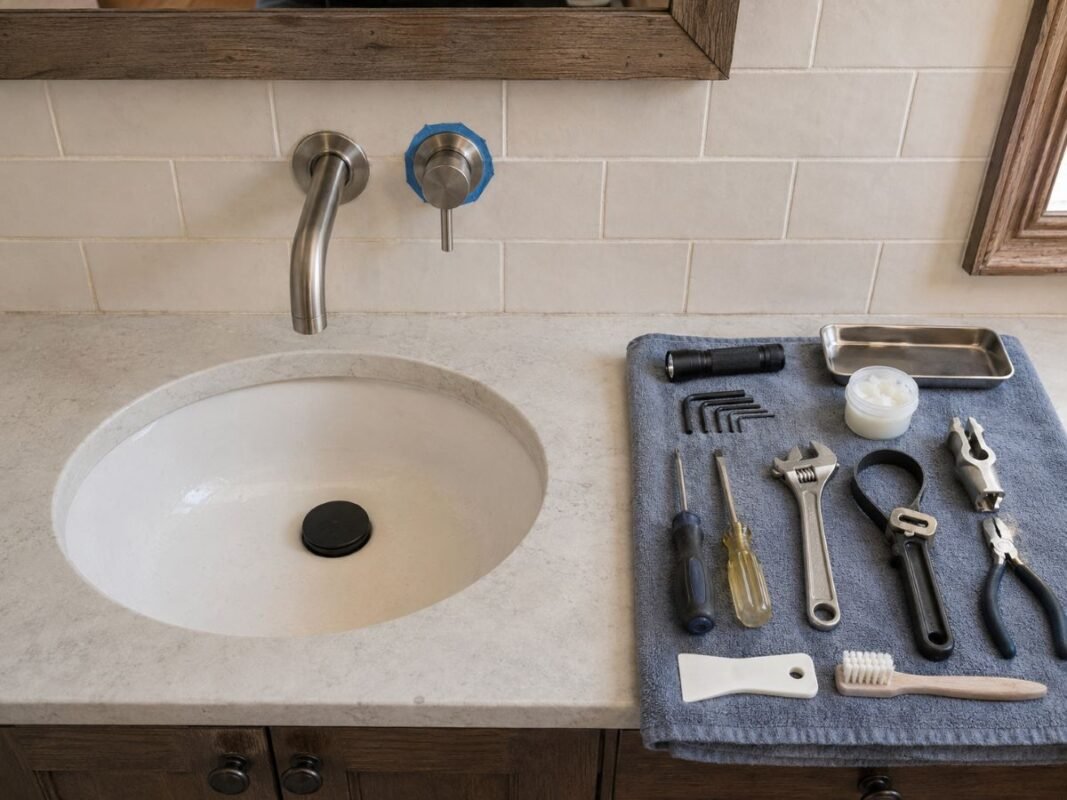
Typical tools include the correct Allen key or screwdriver, a strap wrench or smooth-jaw wrench for finished parts, needle-nose pliers, a plastic scraper, towels, a flashlight, and the manufacturer-specified cartridge tool or deep socket. Plug the drain before removing small screws or clips. Use only potable-water-safe silicone grease, and only when the cartridge instructions call for lubrication. Do not spray vinegar or petroleum-based lubricant into the valve body.
A plastic scraper matters more than people think. On wall-mounted fixtures, the trim is often sealed with silicone, and a metal blade can chip tile or scratch a polished finish in one bad swipe.
Shutting Off Water Supply and Locating the Access Point
Shut off both the hot and cold water supplies. If the faucet has no local service stops, close the home’s main water valve. Open the faucet to relieve pressure and verify that the flow has stopped completely before removing the cartridge retainer. Plug the drain and place towels below the wall opening.
If a shutoff valve will not close completely, do not continue with the cartridge removal. Have the shutoff repaired by a qualified plumber or contact the appropriate water utility before opening the valve body.
Removing Trim, Handle, and Escutcheon Without Damaging Tiles
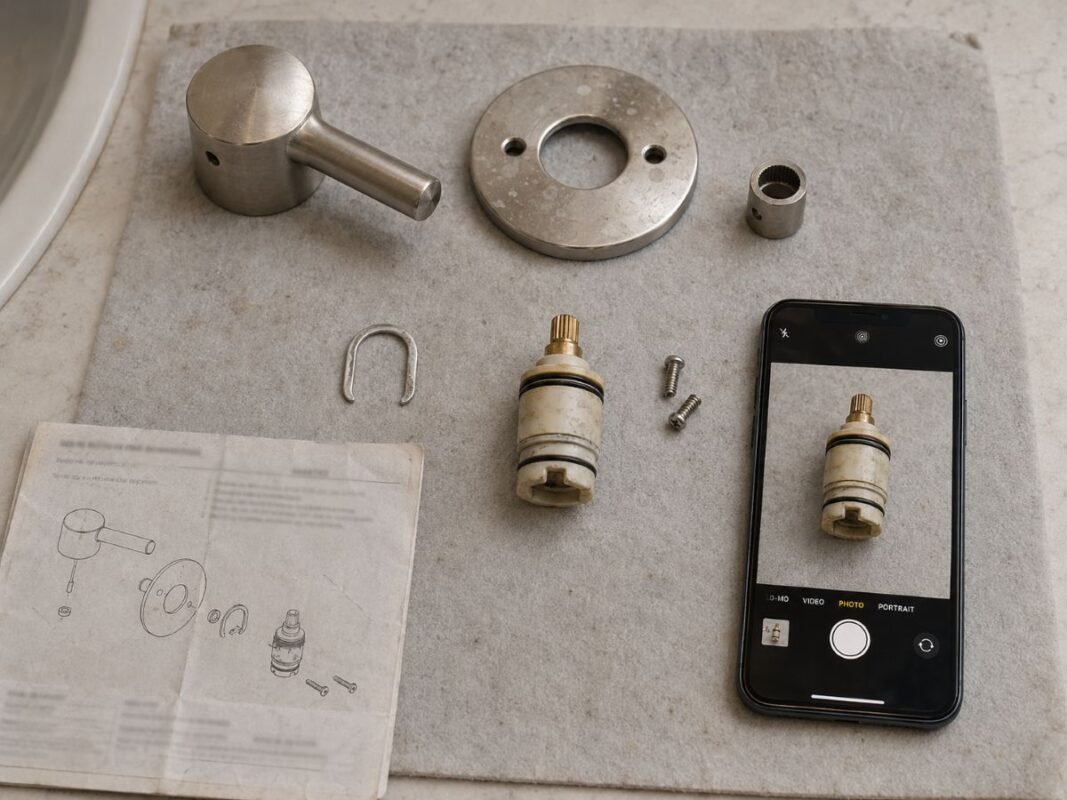
Remove the handle, sleeve, stem adapter, and escutcheon in the order shown in the faucet’s parts diagram. Cut visible caulk with a plastic razor or a sharp blade held away from the tile, then pull the trim straight forward. Do not pry against the tile. Some escutcheons use a gasket, while others require sealant with a small opening left at the bottom, so follow the manufacturer’s resealing instructions.
Before removing each component, take a photo and place the screws, clips, adapters, and sleeves in removal order. This is especially important when the assembly includes a stem extension, handle adapter, or orientation stop.
Removing the Old Cartridge
General Removal Steps: Retaining Clip, Pull Technique, and Valve Cleaning
If you’ve never done this before, my guide on Como substituir o cartucho de uma torneira walks through the standard process. Most wall cartridges follow the same basic sequence: expose the stem, remove the retainer, pull the cartridge, then clean the valve body before anything goes back in. The retainer may be a clip, a nut, or a threaded collar. I never force it on the first try. If it doesn’t move, I check for hidden screws, scale, or a second locking piece.
Inspect the valve bore with a flashlight. Remove loose debris with a lint-free cloth or soft nylon brush without scratching the sealing surfaces. If the manufacturer recommends flushing the valve body, protect the wall cavity and follow the specified procedure. Stop if the valve body is cracked, deeply corroded, or visibly damaged.
Common Cartridge Systems and How They Release
Cartridge removal methods vary by valve design. Some cartridges are secured by a U-shaped clip and pull straight out; others use a bonnet nut, threaded retainer, or model-specific extraction tool. Stem shape and cartridge material do not reliably indicate the correct removal method. If the cartridge does not move after the visible retainer has been removed, recheck the parts diagram before applying more force.
This is where a lot of DIY repairs go sideways. People assume the part should behave like the last one they saw online. It usually doesn’t. The valve family matters more than the brand photo on the box.
When the Cartridge Is Deep in the Wall
A concealed valve may sit several inches behind the finished surface, but its service components should normally remain accessible through the trim opening. Use only the extension socket or removal tool specified for that valve. If the rough-in is recessed beyond the manufacturer’s approved installation range or the tool cannot engage squarely, stop before damaging the stem or valve body.
Applying a tool at an angle can deform the cartridge stem or damage the valve body, turning a cartridge replacement into a full valve repair.
Handling Behind-the-Wall Complications
Working Around Tiles and Wall Finishes Safely
The wall finish is part of the job. If you’re working on a wall-mounted bathroom faucet, the trim often sits flush against the tile, so I protect the edge with painter’s tape before I pry anything. I also avoid metal pry bars unless there’s no other option. A small scratch on a hidden wall plate is one thing.
When the trim is finally off, I look for water staining, softened drywall, or dark edges around the opening. Those are warning signs that the seal has already been leaking, even if the homeowner only noticed a drip at the faucet.
Stuck or Broken Cartridges: Descaling, Puller Use, and When to Stop
Mineral scale can bind a cartridge inside the valve body. Clean only the exposed mineral deposits using a manufacturer-approved method, then use the correct puller with steady, straight pressure. Do not apply open flame or uncontrolled heat near a finished wall, plastic pipe, or valve seals. Do not introduce petroleum-based penetrating oil into the potable-water path.
If a cartridge cracks during removal, I stop and clean out every broken piece before moving on. I don’t recommend heat on a finished wall unless there’s a clear reason and enough access to do it safely. Heat can distort trim, damage seals, and make the problem worse.
Preventing Water Damage Inside the Wall Cavity
Place an absorbent cloth and a shallow catch tray below the wall opening before removing the cartridge. Keep the water supply shut off until the replacement cartridge and retainer are fully installed. Dry the cavity and inspect it for active leakage before reinstalling the trim.
I also avoid over-wetting the space. A damp rag is fine. A soaked wall cavity is not. If moisture has entered the wall, determine whether it came from residual service water, failed trim sealing, or a leaking valve connection. Do not reinstall the trim over wet or damaged drywall. Moisture behind the wall is always a problem, not just a nuisance. If there’s any sign that water has traveled behind the tile or into drywall, that repair needs attention before the faucet goes back in service.
Installing, Testing, and Preventive Maintenance
Installing the New Cartridge: Alignment, Grease, and Retainer
Confirm the replacement part number and cartridge orientation before installation. Lubricate the O-rings only if the manufacturer specifies it, using a thin film of potable-water-safe silicone grease. Insert or thread the cartridge by hand without forcing it, align the tabs or hot-and-cold markings, and reinstall the clip, bonnet, or retainer in the specified position.
Verify visually that the retaining clip is fully seated or tighten the bonnet to the manufacturer’s specified torque. Reinstall any stem adapter, extension, or orientation stop in its documented position.
Turning Water Back On and Testing for Leaks
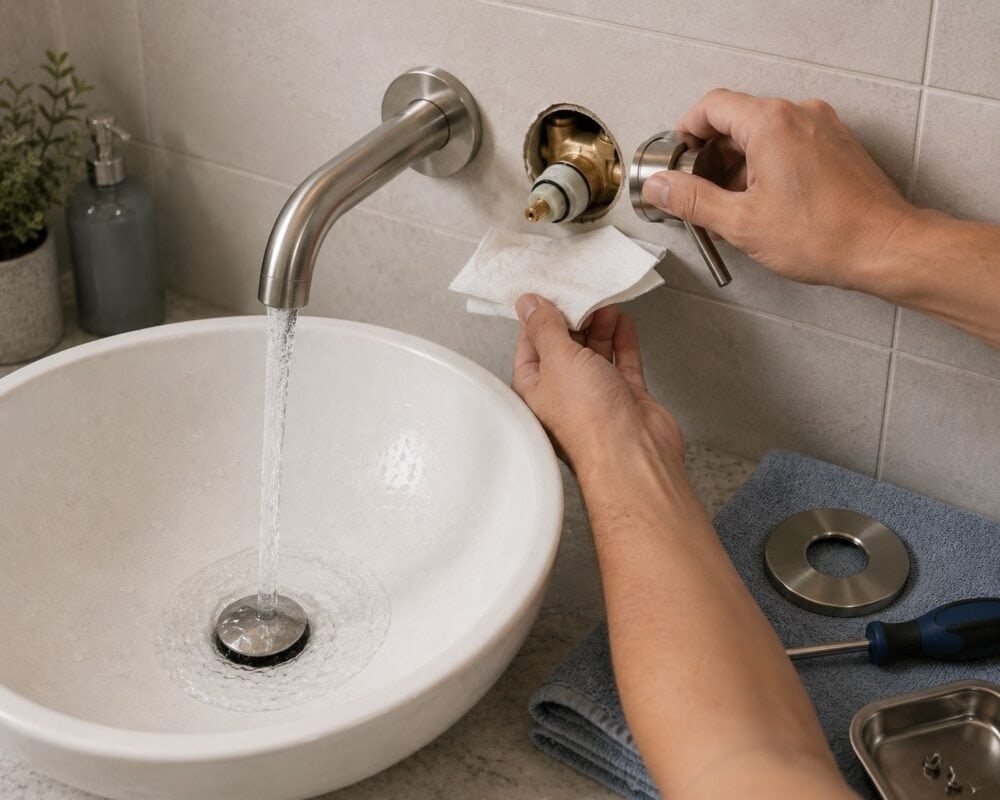
Leave the escutcheon off during the initial leak test. Restore the water supply slowly, operate the handle through its full range, and inspect the cartridge, retainer, and wall opening with a dry tissue. Confirm complete shutoff, normal flow, correct hot-and-cold direction, and stable temperature.
If any moisture appears around the cartridge or inside the wall opening, shut the water off again and correct the problem before reinstalling the escutcheon.
Maintenance Tips to Extend Cartridge Life and Prevent Hard Water Damage
Hard water can form scale on internal valve components, but sealing the trim does not prevent mineral buildup inside the cartridge. Seal the escutcheon only as directed to keep splash water out of the wall opening. Clean the faucet aerator regularly, address unusually hard water at the household treatment level when appropriate, and replace a worn cartridge before continued leakage damages the valve body.
Know the location of the home’s main shutoff valve and any local faucet service stops. Label them clearly and check periodically that they remain accessible and operational.