A leaky shower faucet seems small—until it keeps you awake at night and quietly wastes water. According to the U.S. Environmental Protection Agency, even small household leaks can waste thousands of gallons of water each year if left unrepaired. In my experience, most leaks are very fixable with basic tools, as long as you diagnose the leak first.
This is my at-home method for how to fix a leaky shower faucet: quick diagnosis, smart prep, and the valve repair that usually stops a faucet from dripping when it’s off. I keep it clean, careful, and practical—the A-TORNEIRA way.
Diagnose the Leak (Where it’s leaking and when)
Dripping when the water is OFF vs. leaking only when it’s ON
This is my first check because it narrows the cause fast. If it drips when OFF, the valve inside isn’t sealing fully—most often the cartridge or internal seals. If it only leaks when ON, it may show up around trim or from a seal that leaks under flow.
Locate the source: handle/trim area vs. behind-the-wall signs

I dry everything, wrap a tissue around the handle and trim, and wait 1–2 minutes. If it turns damp, the leak is near the valve opening. If I notice staining, musty odor, or soft drywall, I proceed carefully.
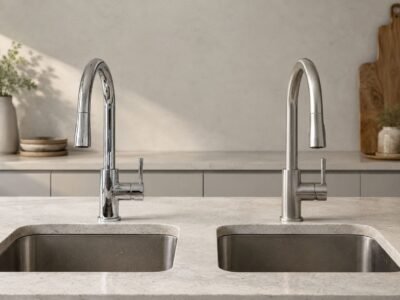
Identify your faucet type: single-handle cartridge vs. two-handle stems
Before buying parts, I confirm the style: single-handle setups commonly use a cartridge, while two-handle setups often involve stems and washers. This decides what you’ll replace and how you’ll disassemble.
If you’re unsure how cartridges, stems, and seals fit together, I’ve broken this down in detail in a separate guide on how different faucet parts work together, which can make identifying the right replacement much easier.
Tools, Parts, and Prep Before You Start

Shut off the water (main vs. local) and relieve pressure
I shut off water (local if available; otherwise the main). Then I open the shower handle briefly to release pressure.
Protect the work area (cover tub, plug the drain, organize screws)
I cover the shower floor, plug the drain, and keep a small tray for screws. I take quick photos as I go.
Basic tools checklist (Allen key, screwdrivers, adjustable wrench, pliers)
Most repairs only need Allen keys, screwdrivers, an adjustable wrench, and pliers (wrapped with a cloth to protect finishes). A small brush helps remove grit.
Common replacement parts (cartridge, O-rings, seats & springs, washers, plumber’s grease, PTFE tape)
For most “drip when off” issues, I plan on a cartridge plus any seals that match my valve design. I use silicone plumber’s grease lightly so seals don’t pinch. PTFE tape is optional and mainly for threaded joints.
Quick reference table (what the symptom usually means)
| Symptom you see | Most likely cause | What I fix first | What you’ll usually need |
|---|---|---|---|
| Drips when water is OFF | Worn valve seal | Replace cartridge / internal seals | Cartridge, O-rings/seals, silicone grease |
| Damp around handle/trim | Seal/O-ring issue or poor seating | Reseat, lubricate, replace O-rings | O-rings, silicone grease |
| Still drips after replacement | Debris, wrong part match, mis-seating | Clean valve body, confirm fit, reinstall carefully | Brush, correct parts, patience |
| Handle stiff / cartridge stuck | Mineral buildup/corrosion | Gentle extraction + cleanup | Pliers (protected), brush, optional puller |
Fix a Leaky Shower Faucet Valve
Remove the handle and trim plate safely (avoid tile damage)
I turn water off, pull the handle (usually a set screw), then remove the trim plate. If there’s caulk, I score it lightly so I don’t stress the tile.
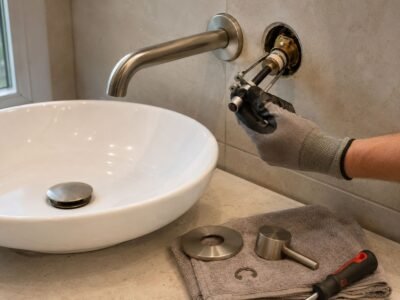
Single-handle: replace the cartridge (most common fix)

If it drips when off, I remove the retainer (clip or nut), pull the cartridge straight out, clean the valve body, and install the new cartridge in the same orientation. I add a thin film of silicone grease to seals—then reinstall the retainer.
A-TORNEIRA rule: If the cartridge won’t seat smoothly, I stop and check alignment or debris instead of forcing it.
The repair logic here is very similar to fixing leaks in tub or shower faucets, especially when the drip happens while the water is off. The main difference is access and trim style.
If you want a deeper explanation of how a shower or faucet cartridge regulates water flow and temperature before you replace it, this overview of shower cartridge mechanics can help you understand what’s happening inside that component.
Replace O-rings, seats & springs if your valve uses them
If the valve design includes extra sealing parts, I replace them while it’s open. Even a tiny bit of grit can keep a new seal from sealing, so I brush and wipe the valve cavity before reinstalling.

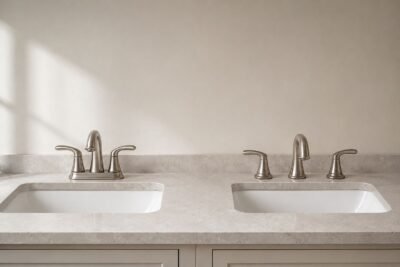
Two-handle: replace stem washers and inspect valve seats
For two-handle setups, I remove the stem, swap the washer/seal, and check the seat surface. If the seat is rough, new washers can fail quickly.
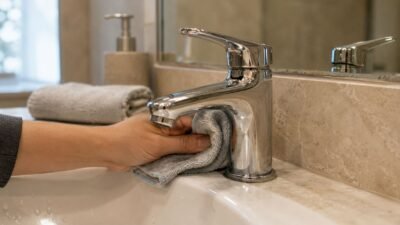
Reassemble and test (check for leaks, set temperature limit stop)
I reassemble just enough to test, turn water on slowly, then shut it off and watch for drips for 2–3 minutes. If there’s a temperature limit adjustment, I verify it after the fix.
If you’re planning a bathroom update after fixing leaks, it’s also worth understanding the differences between wall-mounted and freestanding tub faucets, since access and valve design affect future maintenance.
Summary
While this guide focuses on shower valves, the same sealing and corrosion principles apply when choosing or maintaining different types of bathroom sink faucets, especially for long-term leak prevention.
To stop a leaky shower faucet, I diagnose the drip, prep the area, then replace the worn sealing parts while keeping the valve body clean. I don’t force anything—I align, seat, and test slowly. That simple, careful routine is my A-TORNEIRA mindset.