Before you start reading, I came across this YouTube video—hope it helps!
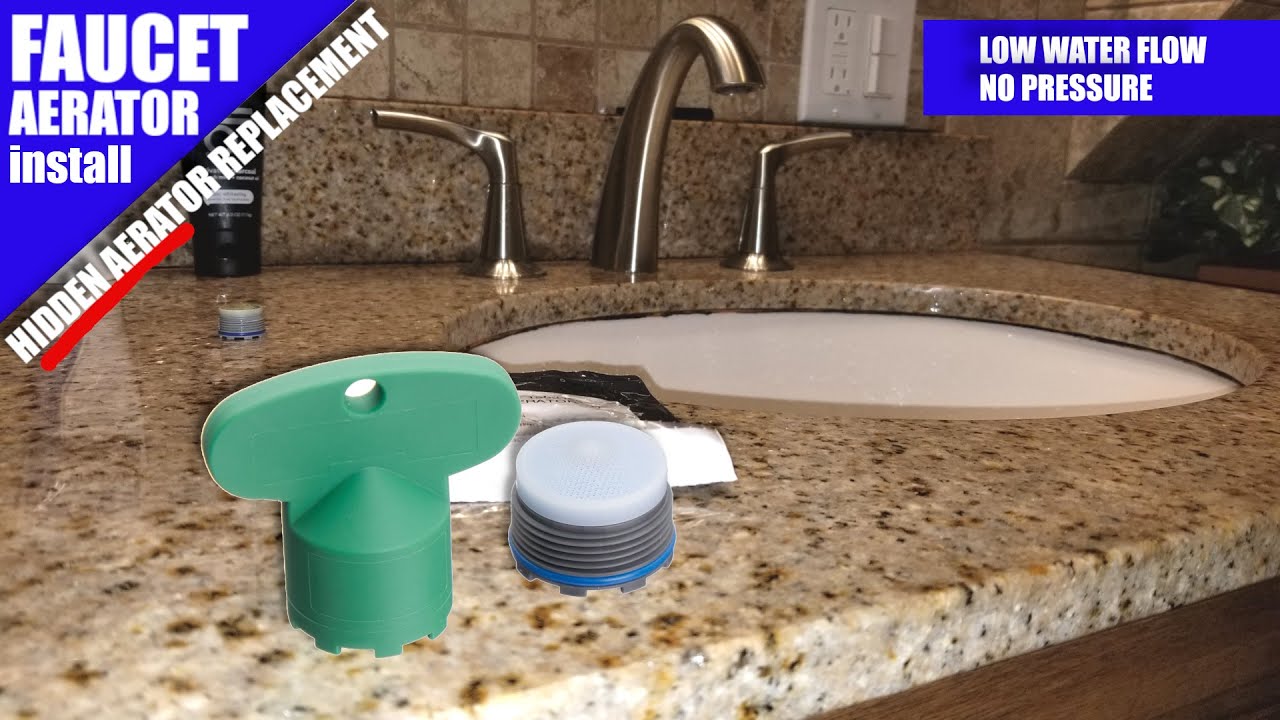
If your faucet is spraying sideways, hissing like it’s annoyed, or filling a cup at “one drop per decade” speed… it’s usually the aerator. And yep, that tiny part can ruin your whole day.
I’ve been in the faucet world for 10 years, and on A-TORNEIRA I keep seeing the same thing: the faucet is fine, the flow is not. Let’s fix it—cleanly, safely, and without panic.
If your bathroom faucet keeps spraying sideways or getting weak, upgrading can be the faster win. Browse our [Bathroom sink faucets] on A-TORNEIRA for options that are easier to maintain.
Essential Tools and Preparation for Aerator Removal
Identifying Your Aerator Type (Standard vs. Hidden/Cache)
First, look at the tip of your faucet spout:
- Standard aerator: You can see a little ring/cap at the end.
- Hidden (cache) aerator: The end looks smooth, and the aerator sits inside the spout.

Quick trick: shine your phone flashlight upward into the faucet tip. If you see notches inside, it’s probably a hidden/cache style.
If you’re staring into the faucet tip like, “What am I even looking at?” you’ll like my [Understanding Faucet Structure: A Practical Guide]. It makes identifying hidden parts way less guessy.
Recommended Tool Kit: Pliers, Aerator Keys, and Microfiber Cloths
Here’s what I keep in my “aerator rescue kit”:
- Microfiber cloth (or an old soft T-shirt)
- Rubber gloves (better grip!)
- Adjustable pliers
- Aerator key (for hidden/cache styles)
- Small bowl + white vinegar
- Toothbrush or small brush
Nothing fancy. Just practical.
Safety First: Closing the Drain and Protecting the Faucet Surface
Do this before you touch anything:
- Close the drain (or place a strainer over it). Aerator parts are tiny and love to disappear.
- Wrap the faucet tip with a microfiber cloth before using tools.
I’ve watched a shiny faucet get scratched in one second. One second! Don’t be that story.
Step-by-Step Guide to Removing Different Aerator Styles
This is where most people rush. Slow hands win.
Removing Standard Male/Female Aerators by Hand
Scene #1: Saturday morning. You’re half awake. You turn on the faucet to rinse a spoon—water shoots sideways and splatters your shirt. Annoying, right? That’s often the aerator mesh choking on mineral bits.
Here’s the safe way:
- Dry the faucet tip with a cloth. Wet metal = slippery.
- Try to twist the aerator counterclockwise (lefty-loosey).
- If it won’t move, put on rubber gloves and try again.
- Still stuck? Wrap the tip with your microfiber cloth, then use pliers gently:
- Grip the cloth-covered aerator
- Turn counterclockwise in small moves
- Once it loosens, finish by hand and catch the parts.

Male vs. female aerator—does it change removal?
Not really. The threads may be on the aerator or inside the faucet, but your move is still: turn left to loosen.
And here’s why I care so much about keeping aerators working well.
A real restroom study compared faucets using 0.5 gpm and 0.35 gpm aerators and measured big water cuts versus a manual setup.
Kitchen faucets clog faster because they deal with food bits and greasy rinse water. If you’re in the kitchen a lot, a [Pull-down kitchen faucet] can also make cleanup easier while keeping the stream more controlled.
Using an Aerator Key for “Hidden” or Recessed Models
Hidden aerators look clean and modern… until you need to remove them.
- Look inside the faucet tip and find the notches.
- Match your aerator key to the notch shape/size.
- Insert the key and push it in firmly so it fully seats.
- Turn counterclockwise slowly.
- When it breaks loose, keep turning until it comes out.

Now the important detail people miss: cache aerators usually come in a few fixed sizes like M24, M21.5, M18.5, M16.5. If you buy the wrong key, it simply won’t bite—no grip, no turn.
If you’re not sure which size you have, get a multi-size aerator key set. It saves you from buying twice.
Scene #2: I once helped a friend in a rental where “hard water” was basically a lifestyle.
The hidden aerator looked normal from outside, but inside it was packed with chalky grit.
We seated the key and turned gently.
It popped loose with a tiny crack.
After cleaning, the faucet finally poured smoothly again.
Instant mood upgrade!
Also, a lot of people forget this: aerators can trap gunk over time.
Some healthcare-focused studies even examine how aerator design and buildup can affect contamination risks.
That’s one more reason to clean them instead of ignoring the problem.
How to Remove a Stuck or Corroded Faucet Aerator
If your flow is still weird after the aerator is clean, the next culprit can be inside the handle area. When I need to go one step deeper, I follow this quick guide: [How to remove faucet handle?].
The Vinegar Soak: Dissolving Mineral Deposits
If your aerator is stuck because of mineral scale (that chalky white crust), vinegar is a classic for a reason.
- Fill a small bowl with white vinegar.
- Remove the aerator and soak it for 30–60 minutes.
- Scrub gently with a toothbrush.
- Rinse well.

And no, it’s not “just a grandma trick.” Chemistry backs it up: acetic acid (the acid in vinegar) can break down calcium carbonate scale. So when you see deposits soften after soaking, that’s a real reaction happening.
If the aerator can’t come off yet, do a mini soak:
- Put vinegar in a small bag
- Tie it around the faucet tip
- Wait, then try again
Using Penetrating Oil or WD-40 for Corroded Threads
If the aerator is metal-on-metal stuck (corroded threads), I’m careful here because this is the drinking-water outlet.
If you keep finding crusty threads again and again, it helps to know what’s causing it in the first place. I broke it down here: [What Causes Bathroom Faucets to Corrode?].
First choice: use a tiny smear of food-grade silicone grease on the threads after you remove the aerator. It’s safer for plumbing parts that touch potable water.
If you already used WD-40 or a penetrating oil to help removal, don’t stop there.
Do this before reinstalling:
- Remove the aerator.
- Wash the aerator threads and faucet threads with dish soap and warm water.
- Rinse thoroughly.
- Run the faucet for a bit to flush.
WD-40 products can contain petroleum distillates, so I treat it as “last resort + clean like you mean it.”
The “Towel and Pliers” Method for Tight Aerators
This is my default “no scratches” method:
- Wrap the aerator with a thick towel or microfiber cloth.
- Clamp pliers over the cloth.
- Turn counterclockwise with slow pressure.
No jerking. No rage-twisting. Slow wins here.
Cleaning and Reinstalling Your Aerator for Optimal Flow
Disassembling and Cleaning the Internal Mesh
Most aerators have layers:
- Screen/mesh
- Flow restrictor
- Washer
Take a quick photo before you pull pieces apart. Future-you will say thanks.
Scrub the mesh gently, rinse, and remove any grit.
When to Replace: Signs Your Aerator Is Beyond Repair
Replace it if:
- The mesh is brittle or torn
- Parts are badly corroded
- It never seals right again
Aerators are small and usually inexpensive. Your time matters too.
Checking the Washer and O-Ring for Wear
Look for:
- Cracks
- Flattened rubber
- Missing ring
And here’s a sneaky leak cause: the washer can be flipped or seated wrong.
In most designs, the rubber washer should sit at the very top of the aerator stack, closest to the faucet’s internal outlet, pressed flat to make a seal. If it’s upside down or not sitting evenly, you’ll get drips.
Reinstallation Tips to Prevent Cross-Threading and Leaks
Before you screw the aerator back on, turn on the water for 5 seconds to flush out any loose grit inside the faucet neck. This prevents your newly cleaned aerator from getting clogged immediately.
- Start threading by hand first.
- Turn clockwise slowly.
- If it resists right away, back off and try again.
Hand-tight is usually enough. Tools are for removal, not for “make it forever tight.”
If you’re tired of touching the handle with messy hands and then cleaning buildup later, this is where touchless starts to feel worth it. Take a look at our [Touchless kitchen faucet] options on A-TORNEIRA when you’re ready to upgrade.
FAQs (Expert Troubleshooting)
Which Direction Do I Turn to Loosen an Aerator? (Left-Loosey Guide)
Most aerators loosen counterclockwise when you’re looking up at the faucet tip.
If you’re unsure, do a tiny test turn first—don’t force it.
How Do I Identify a Hidden (Cache) Aerator and What Key Size Do I Need?
If the aerator sits inside the spout and you see inner notches, it’s cache/hidden.
Common sizes include M24/M21.5/M18.5/M16.5—when in doubt, a multi-size key set is the easiest answer.
Can I Remove a Stuck Aerator Without Special Tools or Chemicals?
Sometimes rubber gloves and a strong grip are enough, especially if it’s only mildly tight.
If it won’t move, stop before you scratch the finish and switch to a cloth + pliers approach.
Is It Safe to Use WD-40 or Heat on My Faucet?
I avoid heat for most finishes because it can damage coatings.
For lubrication, I prefer food-grade silicone grease; if WD-40 is used for removal, clean threads thoroughly before reinstalling.
Why Does My Faucet Spray Sideways or Leak After Reinstallation?
Sideways spray usually means the screen is dirty or seated crooked.
Leaks are often a washer issue—flipped, missing, or not sitting flat at the top near the outlet.
How Often Should I Clean or Replace the Aerator and Can I Run the Faucet Without It?
If you have hard water, cleaning every few months is a smart habit.
You can run the faucet without the aerator briefly, but expect splashing and messy flow.