1")
Quick Answer: The Fastest Way to Remove Calcium Deposits
Before you start reading, I came across this YouTube video—hope it helps!
When I want to remove calcium deposits quickly, I do this: I wipe the faucet with a cloth soaked in warm vinegar or warm lemon water. Then, I wait 5–10 minutes. After that, I scrub gently and rinse well.
If I warm vinegar, I make sure there’s good airflow—open a window or run the fan.
Warm vinegar can give off sharp fumes.
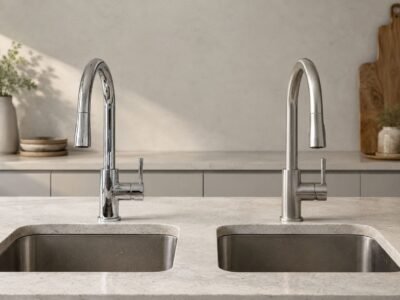
For high-end fixtures like A-TORNEIRA, I keep it simple: short contact time, gentle tools, and a full rinse at the end.
30-Second Diagnosis
 2")
I always start by looking closely and choosing a “level”:
- Light: tiny white spots or a dull film
- Moderate: rough edges, crystals around the spout or base
- Heavy: thick crust, restricted flow, or an erratic spray pattern
Solution Matrix (what I reach for)
- Light → microfiber cloth + warm soapy water, then dry
- Moderate → vinegar or lemon/citric acid with short contact time
- Heavy → controlled soaking + aerator deep clean; sometimes a commercial descaler (especially when flow is affected).
- When I go this route, I prefer formulas built around “organic acids + chelators,” similar to what’s tested in Evaluation of an organic acid descaling solution for removal calcareous scales on embedded domestic pipelines.
The Expert’s Rule (I never skip this)
Before I use any acid, I verify the finish material. If I’m not sure, I test a hidden spot for 60 seconds and rinse.
That one step has saved expensive surfaces—especially on premium faucets like A-TORNEIRA.
Expert Preparation: Identifying Finishes and Safety Steps
Before I start scrubbing, I slow down for a minute.
If I pick the wrong method for the wrong finish, I can “win the cleaning” and still lose the faucet.
Material Matters (Chrome vs. Delicate Coatings)
Here’s how I think about finishes when I’m cleaning a faucet like A-TORNEIRA:
- Chrome is most forgiving.
- PVD is durable but still requires caution with acids.
- More sensitive: matte black coatings, oil-rubbed styles, and some painted looks
Treat acid like hot sauce: a little goes a long way, and you don’t want to leave it sitting there.
Stop! If you have unlacquered brass (a “living finish”) that’s meant to develop a patina, do not use acid. Use just warm water and a soft cloth, or you can strip the look people actually want.
Also—one big safety warning I follow for any finish, including PVD: never use cleaners that contain hydrofluoric acid, or very strong hydrochloric acid.
Those are the kinds of chemicals that can permanently damage surfaces.
The Professional Tool Kit (non-abrasive only)
Now that we know what we’re dealing with, let’s grab the right tools. My go-to kit is simple:
- Microfiber cloths (two: one for cleaning, one for final dry)
- Soft detailing brush
- Cotton swabs for corners
- Plastic scraper (like an old gift card)
- Rubber band + small plastic bag (for the spout-soak trick)
 3")
If I use a toothbrush at all, I keep it for tougher finishes. On sensitive coatings (especially matte), I brush with zero pressure to avoid micro-scratches.
If your handle feels stiff, don’t force it. Sometimes it’s mineral buildup around the handle base, and sometimes you need to remove the handle to clean safely. I walk through it here: How to remove faucet handle?.
Safety and Surface Protection
One more small thing before the “real” cleaning: I protect the area around the faucet.
- I plug the drain (small parts love to disappear)
- I keep acids away from natural stone if I can
- I rinse the sink and countertop right after
The Step-by-Step Professional Cleaning Process
Level 1 & 2: Controlled Contact and Soaking Techniques
Here’s the part most people want—the actual steps. For light and moderate scale, this is my routine:
- Wash first: warm water + a drop of dish soap
- Apply mild acid: vinegar on a cloth (not poured directly)
- Short wait: 5–15 minutes
- Gentle scrub: soft brush for edges (zero pressure on sensitive coatings)
- Rinse thoroughly: don’t leave acid behind
- Dry and buff: microfiber until it shines
 4")
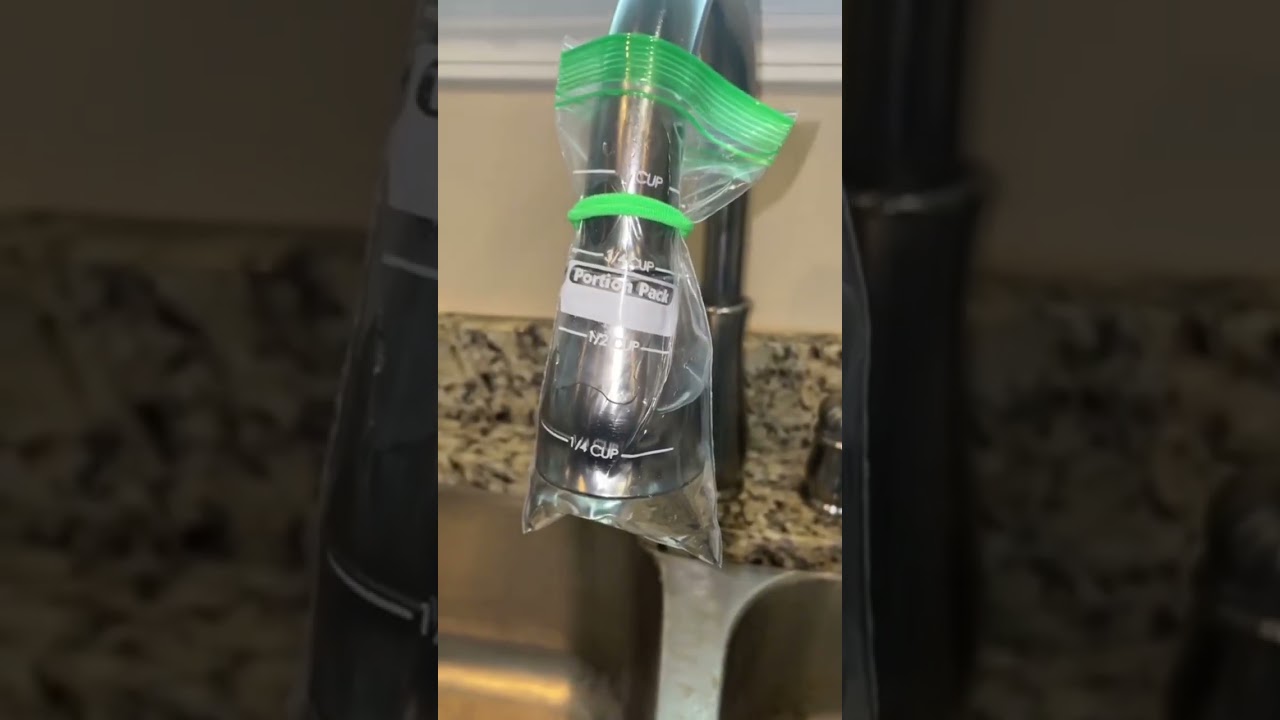
If the spout tip is stubborn, I use the “bag-and-rubber-band” method, but I keep one thing consistent:
- Wiping method: warm vinegar is fine because contact is short
- Bag soaking method: room-temperature vinegar is enough, because soaking already increases risk
Bag method steps:
- Fill a small bag with room-temp vinegar (or diluted citric acid)
- Slip it over the faucet tip
- Rubber-band it in place
- Try to keep the liquid touching the metal tip.
 5")
Don’t let it soak the joint where rubber gaskets or O-rings may sit.
Long exposure can age rubber faster.
- Set a timer for 10 minutes, then check
Why does this work? The chemistry is simple: acid reacts with alkaline limescale (calcium carbonate) and helps dissolve it, which is exactly what’s studied in Dissolution of Calcium Carbonate in Aqueous Solutions of Acetic Acid.
Level 3: Restoring Full Flow by Deep Cleaning the Aerator
If the stream looks messy, I assume the aerator is clogged.
Here’s what I do:
- I unscrew the aerator (by hand or with a cloth for grip)
- If I don’t see threads and it looks “hidden,” it may be a cache aerator—then I use the plastic aerator key that came with the faucet (trying to force it with pliers can deform the spout). This hidden-aerator detail shows up a lot on modern designs—especially on pull-down kitchen faucet styles—so it’s worth knowing before you try to remove anything.
- I take a quick photo so I remember the order of parts
 6")
- I soak the pieces in vinegar for 10–20 minutes
- I brush gently and rinse
- I reassemble and run water for 30 seconds
Real talk: sometimes the easiest “expert move” is just replacing the aerator. They’re often inexpensive, and if a part is worn or damaged, cleaning won’t fix it.
If cleaning doesn’t improve things, it may not be limescale at all. A worn washer, loose connection, or tired cartridge can mimic “scale symptoms.” I break down the common causes here: What Causes a Leaky Faucet?.
If you’re at the point where parts are worn out—or you’re tired of fighting buildup every month—it might be time to upgrade to an easier-to-maintain setup. I usually browse kitchen sink faucets first because it’s the most straightforward starting point for everyday kitchens.
Rinsing, Neutralizing, and Final Polishing
This part is the difference between “clean” and “looks new.”
After any acid step, I:
- Rinse with lots of water
- Wipe once with a clean wet cloth
- Dry fully
- Buff lightly for a factory shine
Troubleshooting Tough Cases: When Deposits Resist Removal
If you’ve tried the steps once and it still looks rough, don’t panic. Most “impossible” buildup is just layered.
Addressing Resistance: Dwell Time and Layered Buildup
When scale is heavy, my instinct is to soak longer.
But the safer way is repeat short cycles.
I do 10 minutes, scrub, rinse, inspect… then repeat if needed. This is especially important for premium finishes like A-TORNEIRA.
Safe Mechanical Assistance (no scratches)
When the crust softens, I use:
- A plastic scraper at a low angle
- A soft brush to lift edges
- Cotton swabs for seams
If I feel grit, I stop and rinse first.
Recognizing Permanent Damage vs. Scaling
Here’s my quick test:
- If it feels rough and chalky: likely scale
- If it looks like a dull “shadow” that won’t change: could be etching or worn coating
If I suspect damage, I stop using acids and switch to soap-and-water only.
Maintenance and Prevention: How to Stop Buildup “For Good”
Once I get a faucet clean, I want to stay out of this problem as long as possible. That’s the part that saves time.
Proactive Daily Habits: The “Wipe-and-Dry” Method
 7")
My easiest habit: after the last use at night, I wipe the faucet dry.
This same habit also helps with corrosion over time, especially in bathrooms. If you want the longer game plan, see How to Prevent Bathroom Faucet Corrosion.
It takes 10 seconds.
It prevents most scale from ever forming—especially on dark finishes like some A-TORNEIRA styles.
Professional Coatings and Water Solutions
I’m careful here.
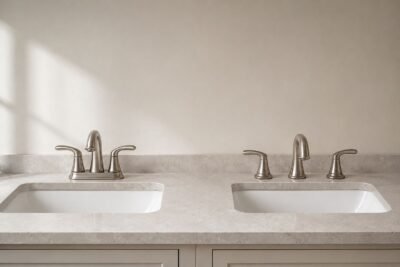
Bathrooms usually get the worst mix of splashes + slow drying, so finish choice matters. If you’re shopping with easy maintenance in mind, browse Bathroom sink faucets.
A tiny amount of non-abrasive wax can help on some glossy finishes.
But this is the rule I follow: Skip wax on matte finishes unless the manufacturer specifically allows it.
For long-term help, water solutions are often better than coatings. Hard-water scaling can build and restrict performance over time, so prevention matters, which is a key theme in Formation mechanisms and supervisory prediction of scaling in water supply pipelines (Water Research).
Bonus Knowledge: The Science of Buildup (Short and Useful)
Calcium deposits are mostly calcium carbonate crystals. They form when hard water dries.
The “hotspots” are the places water splashes and evaporates: the spout tip, the base ring, and seams.
If deposits build up, they can restrict flow and clog parts like the aerator, which is why I prefer preventing scale early instead of fighting it later, as discussed in Formation mechanisms and supervisory prediction of scaling in water supply pipelines (Water Research).