A worn faucet cartridge is one of the most common causes of dripping faucets, stiff handles, unstable water temperature, and reduced water flow. Fortunately, replacing the cartridge is usually much easier and less expensive than replacing the entire faucet.
In this A-Torneira guide, you’ll learn how to identify the correct cartridge, replace it step by step, test for leaks, and avoid the most common installation mistakes.
If you’re still unsure what started the leak, I also wrote a quick guide on common causes of a leaky faucet that can help you spot the real culprit faster.
What Is a Faucet Cartridge?
A faucet cartridge is the part inside the faucet that controls water flow and temperature.
When you move the handle, you’re really moving the cartridge.
When it wears out, water can sneak past seals and drip from the spout—even when the handle is “off.”

Why a Faucet Cartridge Matters More Than You Think
Leaks add up faster than people expect. The U.S. EPA says the average household’s leaks can waste nearly 10,000 gallons per year, and 10% of homes have leaks wasting 90 gallons or more per day—and yes, dripping faucets are a common culprit.
Source: EPA – Fix a Leak Week
And if this drip is happening in a bathroom sink, it’s the same story—cartridges wear out over time. If you’re ready to replace the whole unit, our bathroom sink faucets section makes it easy to compare styles.
How to Identify the Correct Cartridge
This step decides whether the job feels easy… or becomes a guessing game.
Here’s the order I always use:
- Take photos before you start.
Get the faucet, the handle, and under the sink. - Take photos at each stage of disassembly.
After the handle comes off, after the clip/nut is exposed—photo again. - Pull the old cartridge and bring it with you.
Match the height, stem shape, and the tabs/notches at the bottom. - Look for a part number.
If you see one, write it down.

I keep a small “notes” folder on my phone for these photos. It saves me from guessing later.
Common Signs That Your Faucet Cartridge Needs Replacement
| Symptom | Possible Cartridge Issue | Recommended Action |
|---|---|---|
| Faucet keeps dripping after being turned off | Internal cartridge seal is worn | Replace the cartridge |
| Handle is difficult to turn | Mineral buildup or cartridge wear | Clean or replace the cartridge |
| Water temperature is difficult to control | Cartridge mixing mechanism is worn | Install a matching replacement cartridge |
| Water pressure is lower than normal | Cartridge ports are partially blocked | Remove and inspect the cartridge |
| Handle feels loose or unstable | Cartridge stem or retaining parts are worn | Check cartridge fit and replace if necessary |
Before You Begin: Tools, Parts, and Smart Preparation
Good prep makes this calm. Bad prep makes it messy.
Essential Tools for a Professional Result
Use this like a checklist while you open drawers:
- Flathead screwdriver
- Phillips screwdriver
- Allen key set (many handles use a tiny set screw)
- Adjustable wrench or channel-lock pliers
- Needle-nose pliers (for retaining clips)
- Old toothbrush + rag
- White vinegar (for mineral buildup)
- Silicone plumber’s grease (a tiny dab helps the cartridge slide in smoothly and protects O-rings)
- Flashlight (or phone light)
- Towel + small bowl

Nice-to-have: a cartridge puller tool for stuck cartridges.
Safety and Setup: Pre-Repair Checklist
Plug the drain, lay down a towel, and clear space under the sink.
Then shut off the water (under-sink valves if they work, main shutoff if they don’t) and open the faucet briefly to relieve pressure.
Picture this: you’re kneeling at the cabinet, phone flashlight under your chin, trying not to drop a tiny screw into the drain. This setup step is what keeps that moment from turning into chaos.
Step-by-Step Guide to Replacing the Cartridge
This is the main part. Follow it in order, and don’t rush the “boring” steps.
How to Replace a Faucet Cartridge (Single Handle)
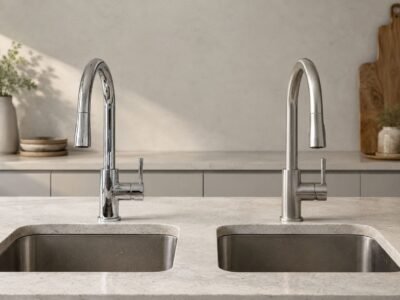
Single-handle faucets are common in kitchens and bathrooms. One handle means one cartridge does a lot of work.
If your faucet is old enough that parts keep failing, sometimes a fresh start feels better. You can browse our single handle kitchen faucet options and pick a style that’s easy to maintain.
Step 1: Removing the Handle and Decorative Cap
Pop off the decorative cap (usually a small cover).
Loosen the set screw (often an Allen key), then lift the handle straight up.
Some handles hide the screw in sneaky places. If yours won’t budge, check my quick walkthrough on how to remove a faucet handle before you force it.
If it’s stuck, wiggle gently while pulling up. Don’t pry hard against the faucet body.
Step 2: Extracting the Retaining Clip or Nut
Under the handle, you’ll usually see either a U-shaped retaining clip or a retaining nut.
Take a photo, then remove it with needle-nose pliers (clip) or a wrench (nut).
Step 3: Removing the Old Cartridge
Pull the cartridge straight out.
If it won’t move, rock it gently side to side.
If it’s really stuck, add vinegar around the cartridge area, wait 10–15 minutes, then try again.
If the faucet body starts flexing or making scary noises, stop and use a puller tool.
Step 4: Cleaning the Valve Body and Inspecting Seals
This is where a lot of “I replaced it but it still drips!” stories begin—because people skip cleaning.
Wipe out grit and mineral flakes, then gently scrub with a toothbrush.
A clean valve body helps the new cartridge sit flat and seal correctly.
Also, gunk plus moisture can become a comfy place for microbes over time. Keeping it clean helps water flow smoothly and keeps things fresher.
Seal note (quick and practical):
Make sure the new cartridge has O-rings already installed. If not, use the O-rings from your repair kit.
Step 5: Installing the New Cartridge and Reassembling
This is the beginner mistake I see the most: wrong direction.
Before you push the new cartridge in, line up the alignment notch/tabs on the cartridge with the matching groove inside the faucet body.
If you install some cartridges rotated 180°, your hot and cold can flip. Annoying, right?
If the cartridge feels crazy tight going in, don’t force it. Add a tiny smear of silicone plumber’s grease on the O-rings, then try again with steady pressure.
Now reassemble:
- Reinstall the retaining clip or nut
- Put the handle back on
- Tighten the set screw
- Snap the cap back

Step 6: Testing for Leaks, Alignment, and Smooth Operation
Before you turn the water on, remove the aerator from the spout.

That way, any rust or grit shaken loose during the repair flushes out instead of clogging the aerator.
Start with the handle in the OFF position.
Turn the water back on slowly, then run cold water for a short burst into a bowl (no aerator on) to flush debris.
Now reinstall the aerator, check under the sink for leaks, and test hot/cold.
I also like to run water briefly after a repair; flushing is commonly discussed as a helpful practice to improve water quality when water has been sitting in plumbing.
Source: EPA -Tap water flushing guidance.
Still getting weak flow after the cartridge swap? The aerator may be packed with grit. Here’s my no-drama method to remove a faucet aerator without scratching.
Because a single-handle faucet relies on one cartridge to control both water flow and temperature, choosing a reliable faucet with a high-quality ceramic cartridge can reduce future maintenance. If you’re planning a replacement instead of a repair, exploring different single-handle kitchen faucet designs can help you compare installation styles, finishes, and cartridge configurations.
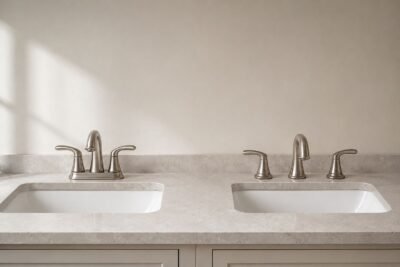
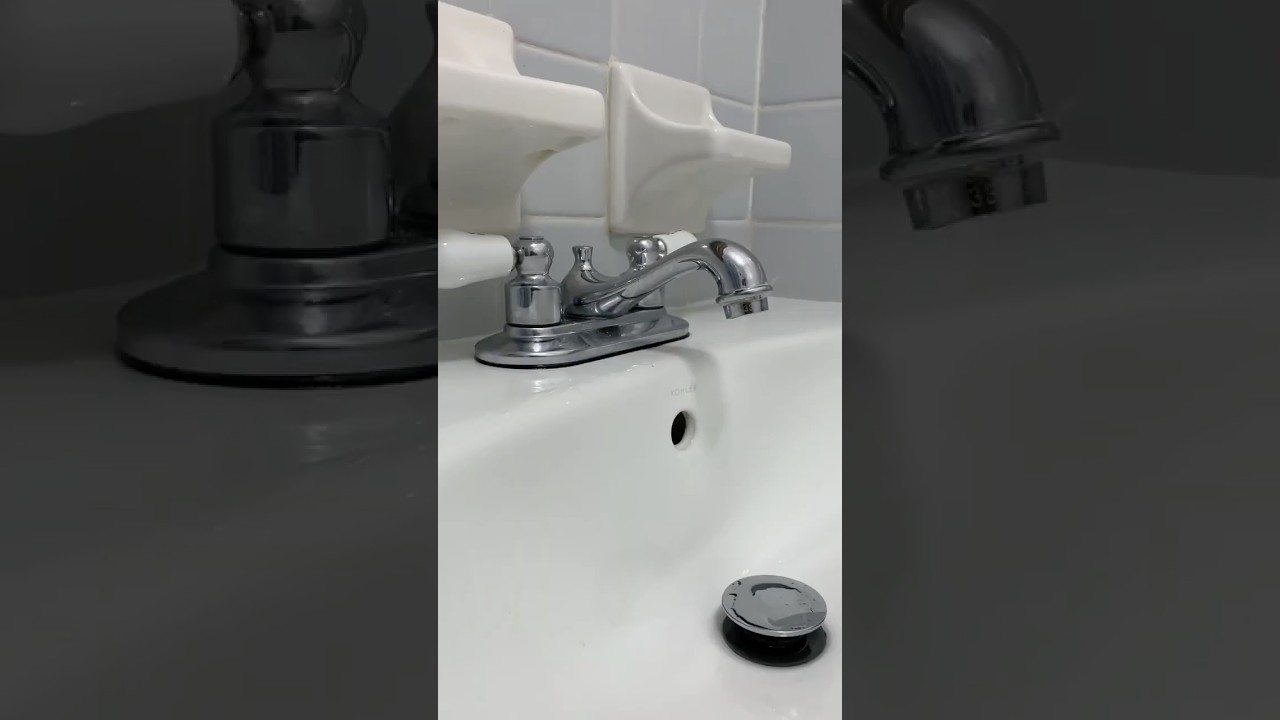
How to Replace a Faucet Cartridge (Two Handle)
Two-handle faucets usually have two cartridges: one for hot, one for cold.
Prefer separate hot and cold control? Some people love that simple feel. If you’re planning an upgrade, take a look at our two handle kitchen faucet collection.
Step 1: Accessing the Hot and Cold Handles and Stems
Pop the caps, remove the screws, and lift off the handles.
I use two bowls labeled HOT and COLD so parts don’t mix.

Step 2: Removing Retainers and Extracting the Old Cartridges
Remove the retaining nuts or clips, then pull the cartridges out.
Hot-side parts can be more stubborn because heat can help deposits build up.
Step 3: Cleaning the Valve Body and Inspecting Seats/Springs (If Applicable)
Clean the valve body the same way: wipe, brush, wipe again.
If your faucet uses seats and springs, check them for wear and replace them if your kit includes new ones.
Step 4: Installing the New Cartridges and Reassembling
Align the tabs/notches so the cartridges seat fully.
Reinstall retainers, handles, screws, and caps.
Step 5: Testing for Proper Alignment, Rotation, and Leaks
Just like a single-handle faucet, remove the aerator before the first flush if you can.
Turn water on slowly, test each handle, and watch for drips.
If a handle feels stiff, stop and re-check alignment before forcing it.
I hope the following video is helpful to you.
FAQs
How to Remove a Stuck Faucet Cartridge?
Try vinegar soak and gentle rocking first.
If it still won’t move, use a cartridge puller tool.
Stop if the valve body flexes or creaks.
Why Is My Faucet Still Dripping After Replacing the Cartridge?
Most often the cartridge isn’t seated fully, or debris is trapped.
Open it, clean again, and reinstall carefully.
On two-handle faucets, check seats/springs too.
Are Faucet Cartridges Universal?
No. Many look similar but seal differently.
Match the old one by tabs, stem shape, and height.
When unsure, bring the old cartridge to the store.
How Much Does It Cost to Replace a Faucet Cartridge?
The part is usually cheaper than replacing the faucet.
Cost depends on cartridge type and where you buy it.
Hiring a plumber adds labor cost.
Can a Faucet Cartridge Affect Water Pressure?
Yes—clogged or damaged cartridges can restrict flow.
Replacing it may improve flow right away.
If flow is still weak, clean the aerator too.
Can I Replace a Faucet Cartridge Myself, or Should I Call a Plumber?
If you’re comfortable with basic tools, you can do it.
Call a plumber if shutoff valves don’t work or leaks won’t stop.
Water damage is a high price for “one more try.”